Powering a Phone Without a Battery
23rd April 2026My much-loved Pixel 3a has been sitting in a drawer gathering dust for a while now, which feels like a bit of a shame. Yes it’s sluggish, the battery life is awful, and owning a phone with only one rear camera is shameful. But it’s still a functioning computer -- one with Wi-Fi, a large display, and plenty of storage. Why buy a Raspberry Pi for a project when I already have a more capable device lying in a drawer?
There’s one problem: unless you like a spicy pillow leaving an old phone plugged in 24/7 probably isn’t the greatest idea. The battery on this phone has nearly 2400 cycles on it and would have died by the time you finish reading this sentence; I don’t trust it. Let’s see if we can remove it and power it straight from USB.
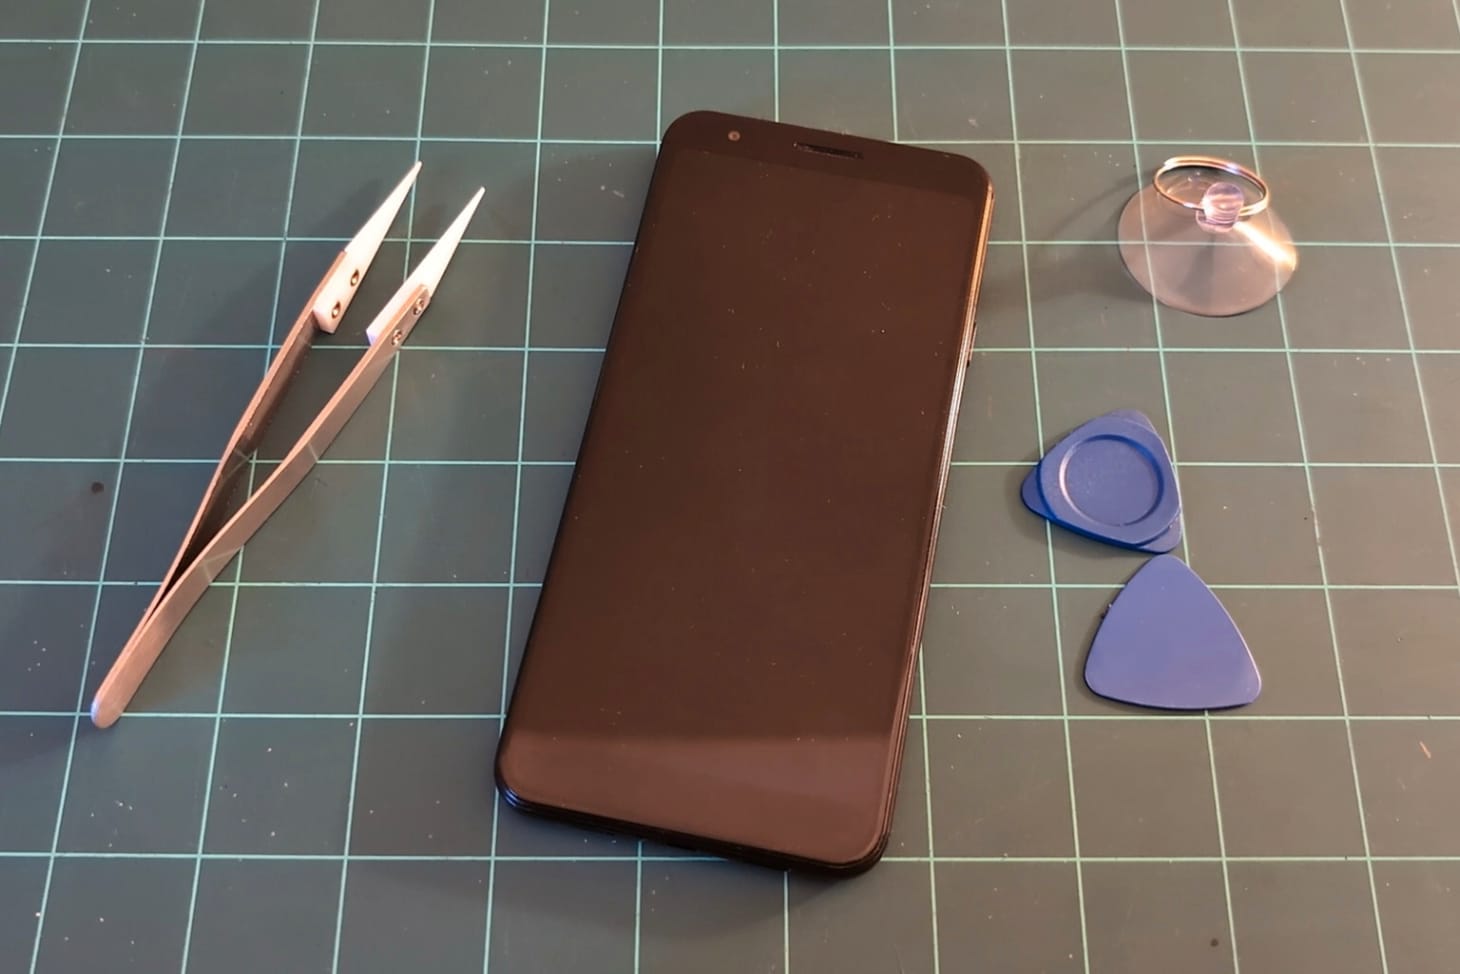
The first step is to disassemble the phone, which I found surprisingly easy. The iFixit guide I followed rates it as “difficult”, but if you have some experience taking things apart then you should be fine. With the phone being so old, the glue around the screen had dried up and was easy to remove without any additional heat.
Heat wasn’t required to remove the battery either, as Google in their mercy used two stretch-release adhesive strips to hold it in place. Give these a pull and the battery should come free.
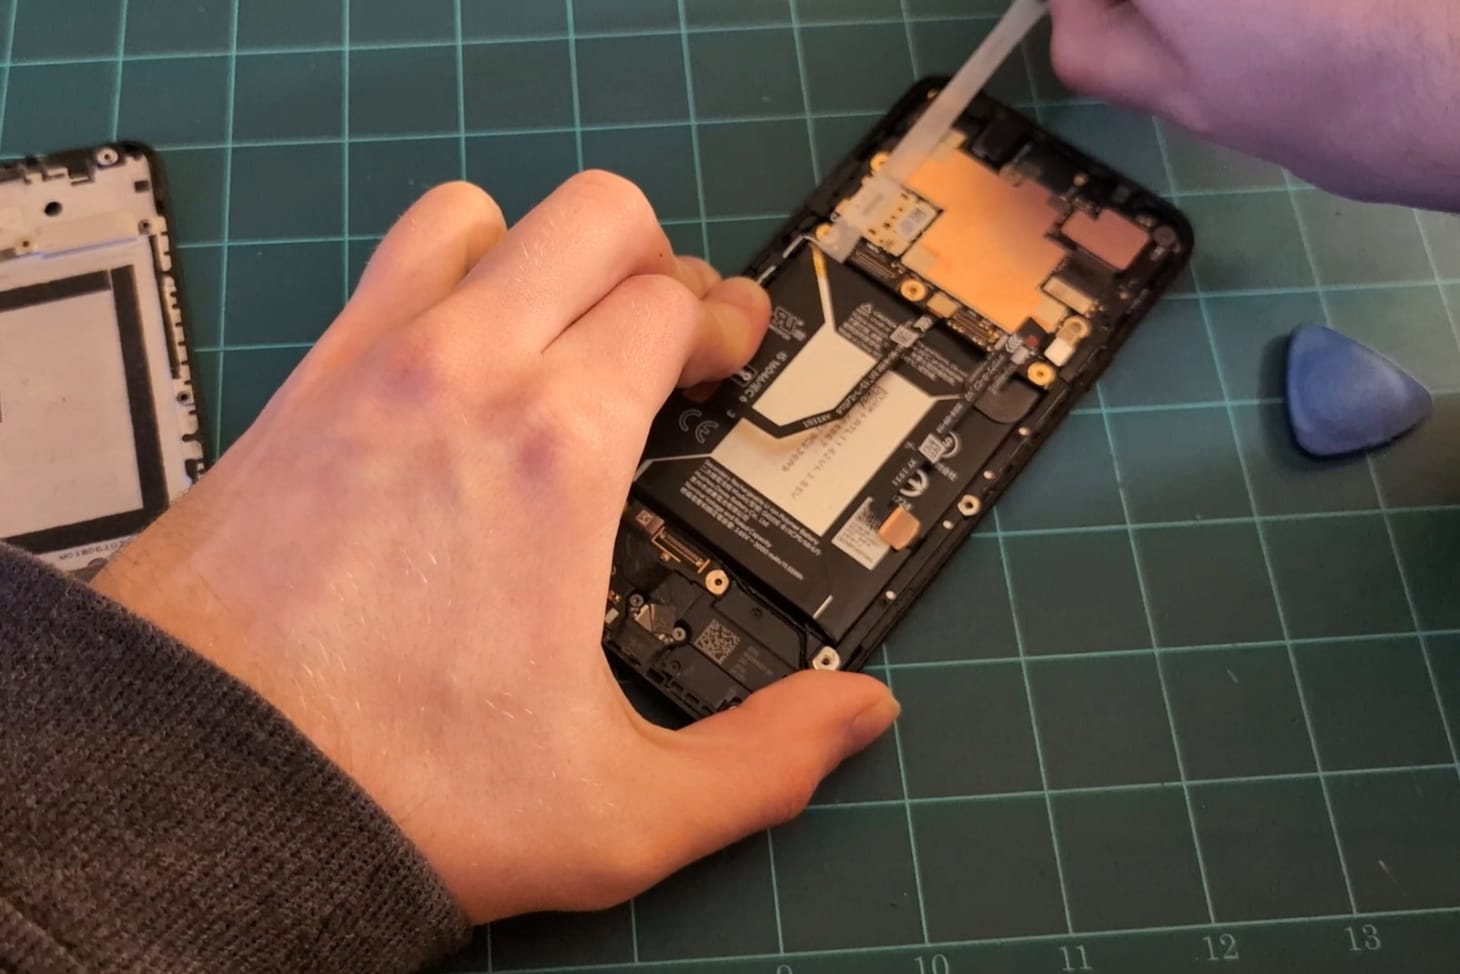
In practice, I found these quite fragile and I ended up snapping one of them. It took quite a while and a lot of force to pry the battery away afterwards. Given how many cycles are on this battery I was quite surprised to find it in physically such a good condition, there was no sign of swelling at all.
At this point I reassembled everything and tried plugging in a charger to see if it’d boot straight from that. As I expected, there was no sign of life. A long shot, but worth a try.
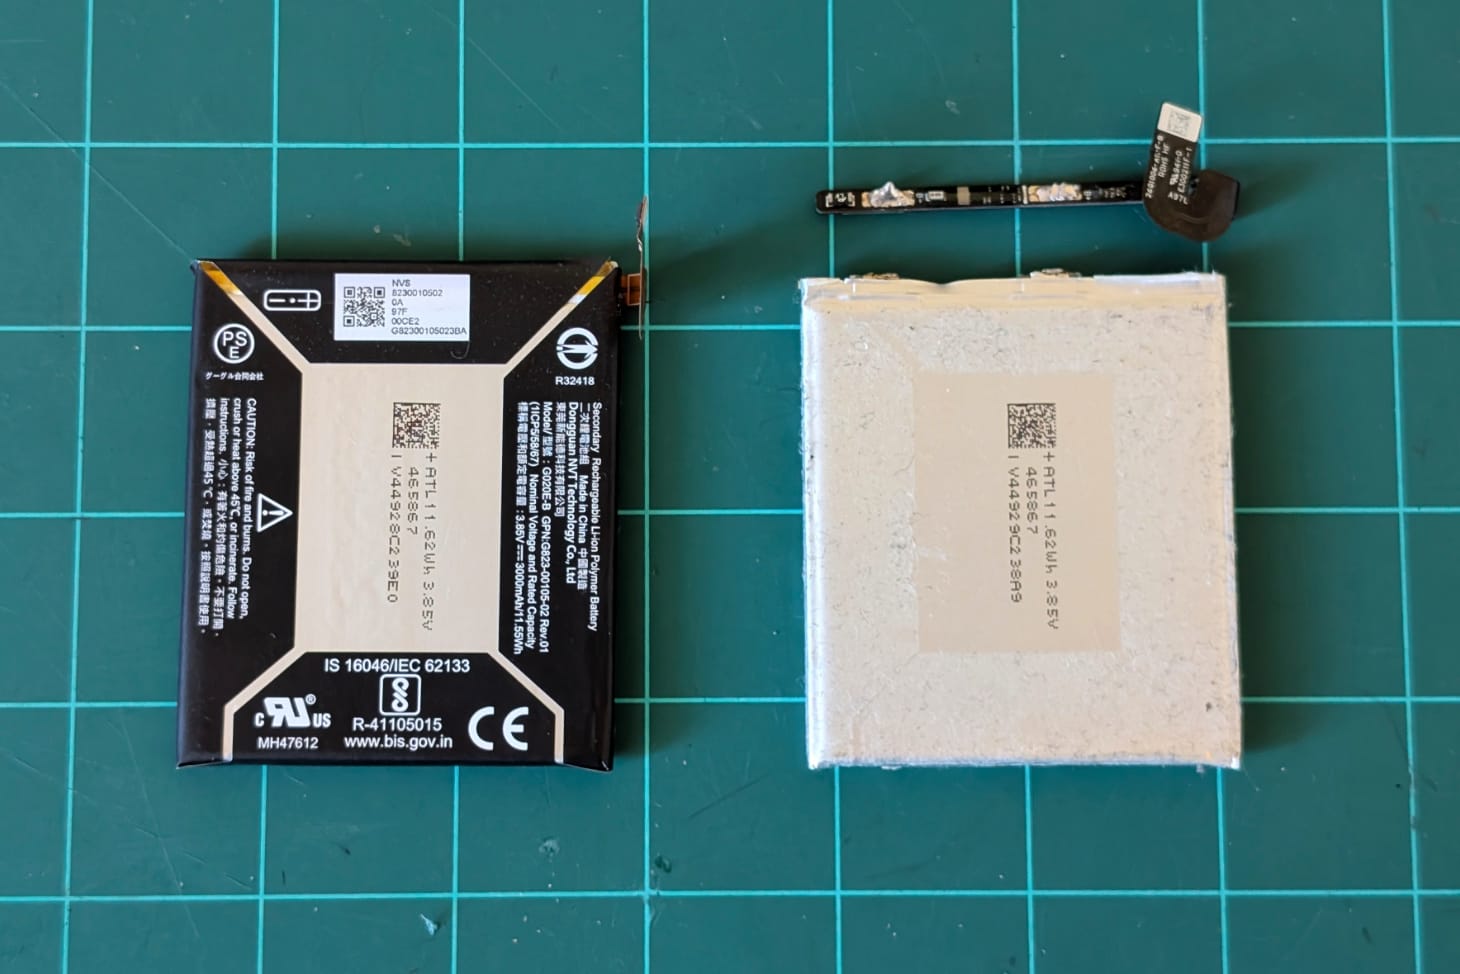
The battery consists of two parts: the bare cell; and a long, thin circuit board that protects and monitors it. This board expects to see a voltage roughly between 3.7V to 4.2V depending on the state of charge. By removing the cell and supplying my own power source within this range, I should be able to get the phone to boot.
My original plan was to use a cheap USB cable to provide 5V and drop it down using a buck converter that was small enough to fit in the void left by the missing battery, but I wasn’t convinced that would be able to provide enough power to the phone. When under heavy loads, a phone can draw bursts of current very quickly, something a lithium battery can happily handle.
Then I remembered a feature made popular with USB-C: Power Delivery, a universal standard that allows devices to negotiate the exact amount of power needed (as long as the supply is able to provide it). I used a power delivery trigger module to request 9V from a compatible supply, and fed that to a beefy buck converter (XL4015) that should be able to sustain up to 3A comfortably, with spikes up to 5A.
Back at the workbench I soldered everything together and plugged it into my power bank.
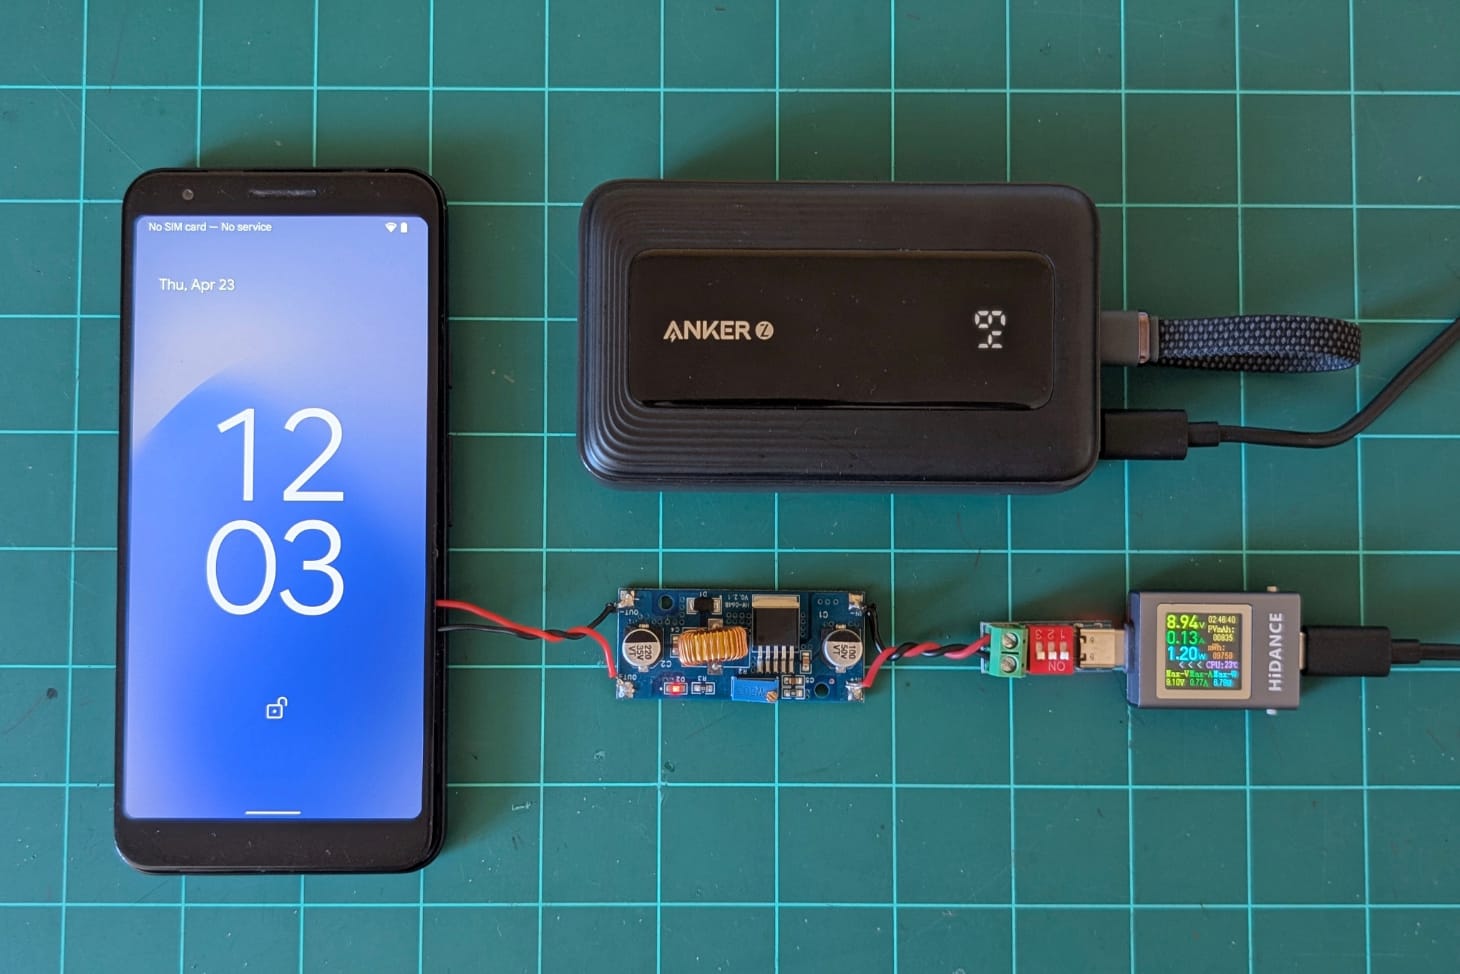
It works! The phone boots without an issue, seems quite happy under load too. One thing I did notice is that although I’m supplying a constant 4.1V that can power the phone indefinitely, Android is a little confused and still reports the battery level dropping. Thankfully this stops at 1% and doesn’t cause the phone to shut down. Phew!
Now to find a use for it! This would make a good timelapse camera, security camera, digital photo frame; we’ll see…